
Overview on Jet Reports:
Jet Reports are fast and flexible financial reporting solution that helps to eliminate the errors in traditional reporting available out of the box in the Business Central system. Jet Reports allows to get the latest information from the database. Jet Reports integrates into excel allowing us to get the real-time data efficiently while also eliminating errors and risk.
The app is Excel-powered and Business Central-integrated, so you can be assured that data is gathered in real time as you conduct your business. What’s more, it can be used in a familiar and user-friendly environment.
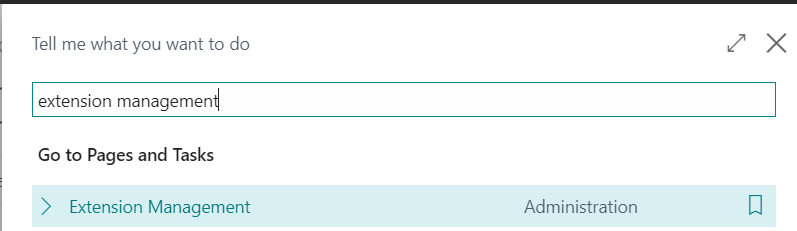
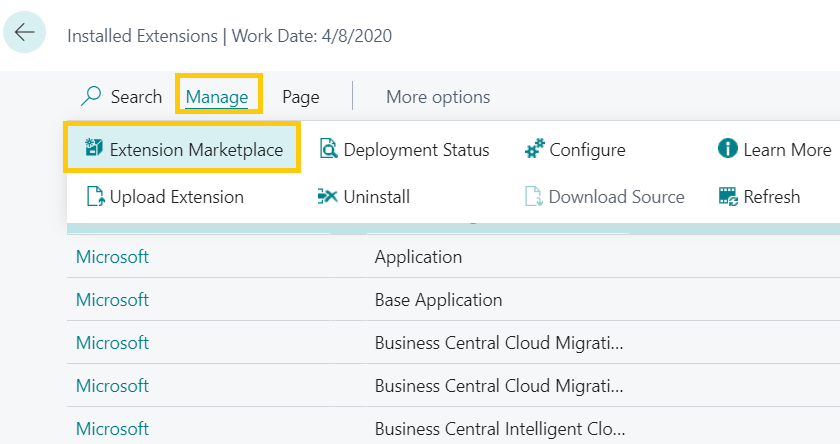
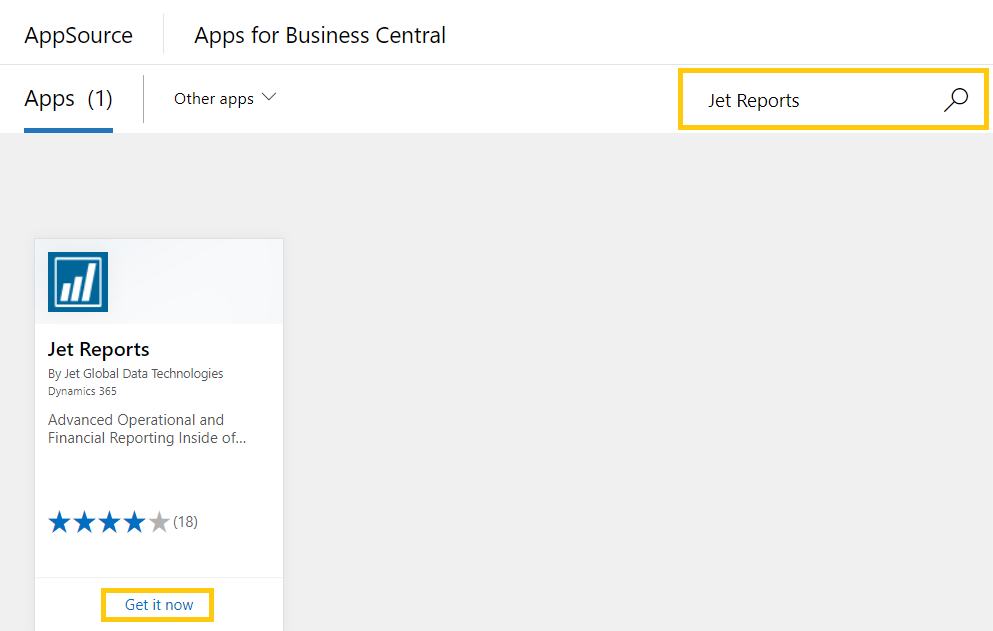
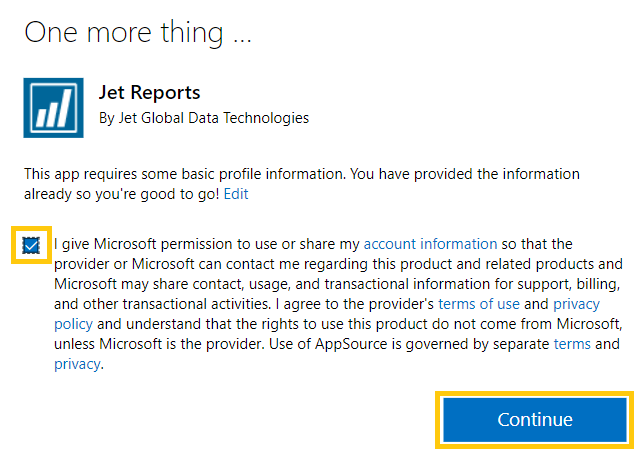
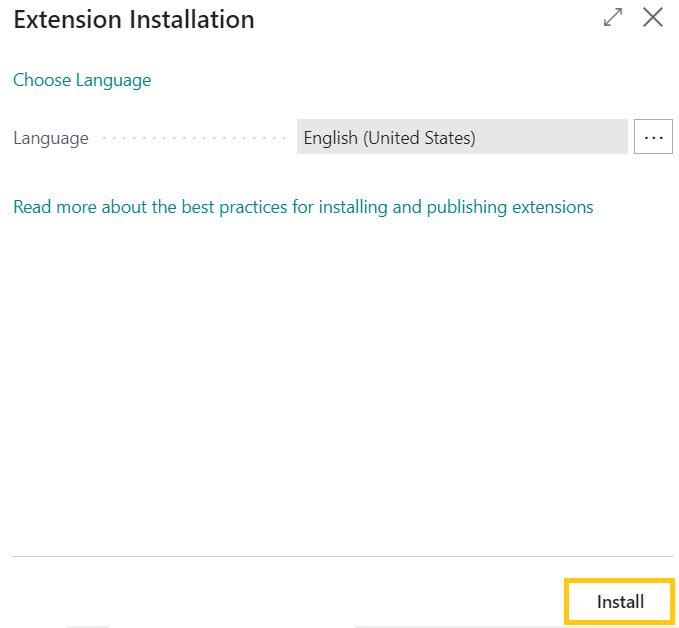
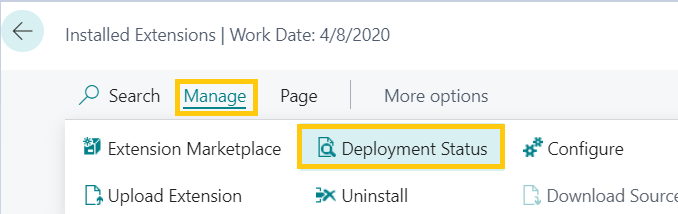
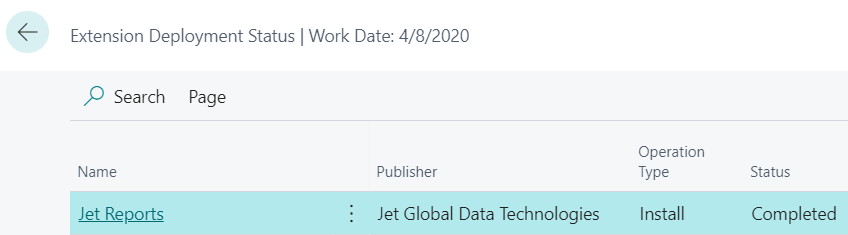
We have a third party extension which we can install to use the Jet Reports in Business Central which is absolutely free of cost.
Pre-Requisite
Link- https://insightsoftware.com/downloads/?_ga=2.14083639.1088758303.1604731007-103562871.1604731007
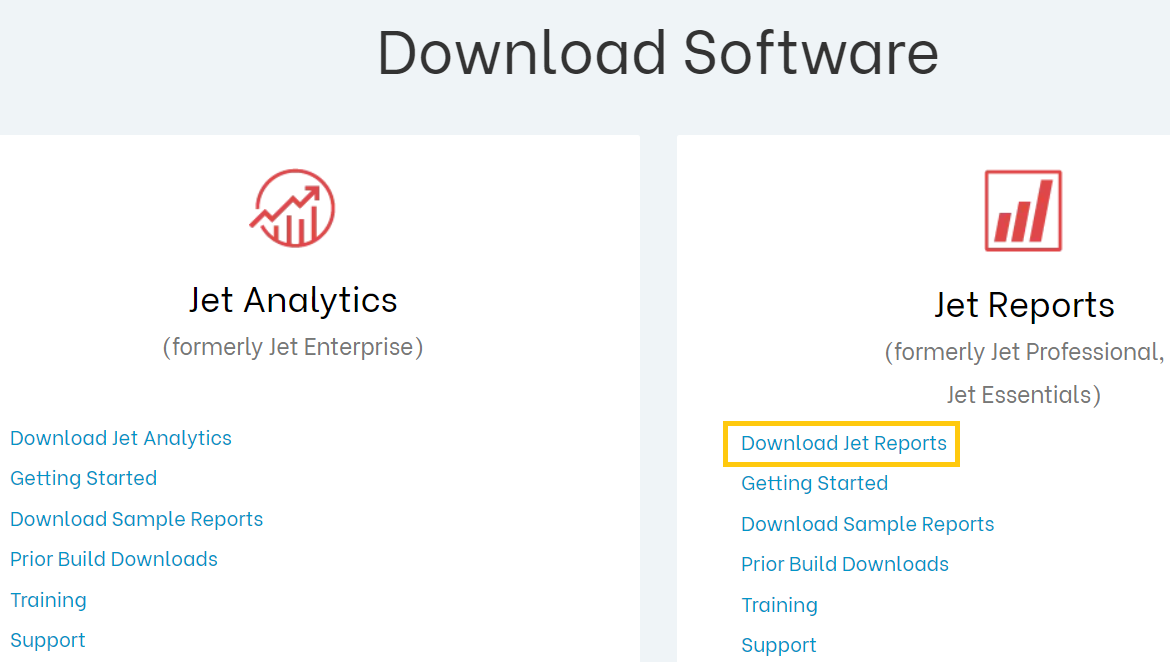
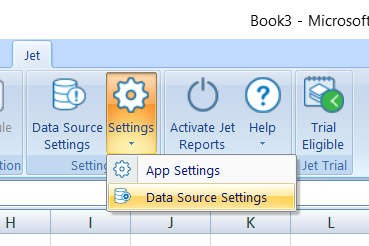
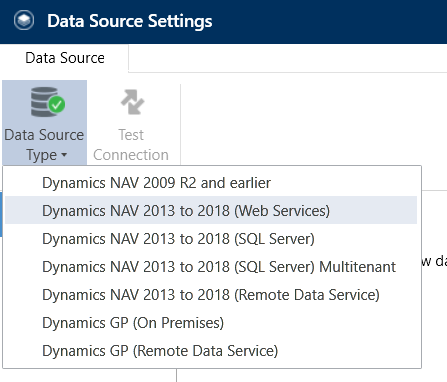
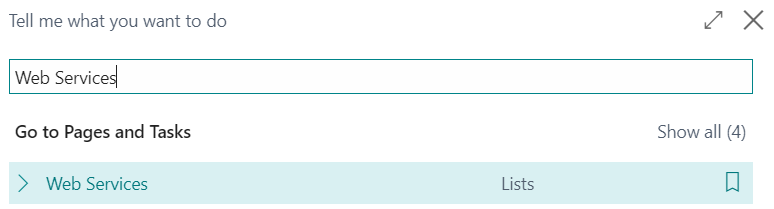
Connect the data source of Business Central with excel


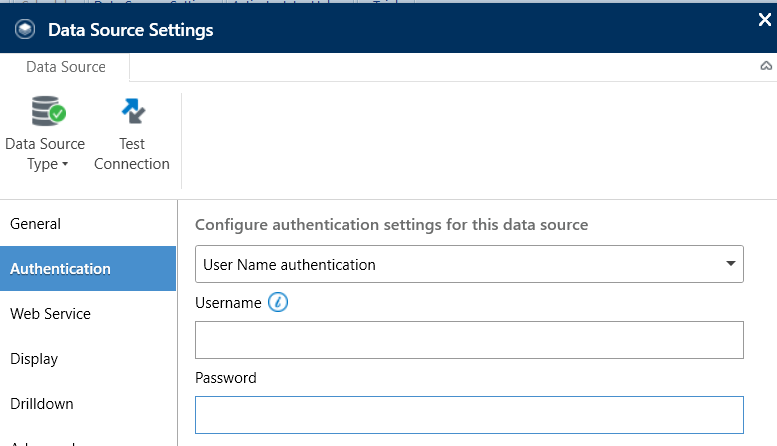

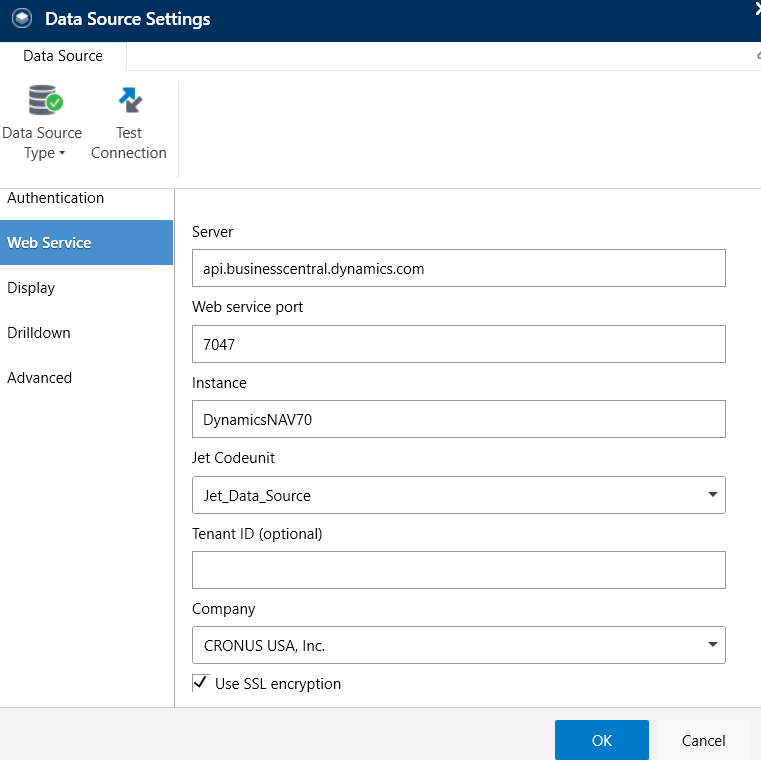
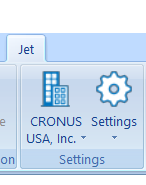
Notice- now we have our company’s data source linked with the excel.
Check out the next part here.
ATM Inspection PowerApp to ease ATM inspection and report generation process.
https://www.inkeysolutions.com/microsoft-power-platform/power-app/atm-inspection
Insert data into Many-to-Many relationship in Dynamics CRM very easily & quickly, using the Drag and drop listbox.
http://www.inkeysolutions.com/what-we-do/dynamicscrmaddons/drag-and-drop-listbox
Comply your Lead, Contact, and User entities of D365 CRM with GDPR compliance using the GDPR add-on.
https://www.inkeysolutions.com/microsoft-dynamics-365/dynamicscrmaddons/gdpr
Create a personal / system view in Dynamics CRM with all the fields on the form/s which you select for a particular entity using the View Creator.
http://www.inkeysolutions.com/what-we-do/dynamicscrmaddons/view-creator
INKEY is your solution partner.
Our focus is to deliver you in-time intelligent innovative solutions ("key") for the problems in hand. Maintaining a quality standard right from the inception of a project is our top most priority.
Our team of talented professionals will execute your projects with dedication and excellence. We take ownership and accountability for the effort that goes into meeting our client’s needs.
Years of experience and proven success of delivering innovative custom solutions.


© All Rights Reserved. Inkey IT Solutions Pvt. Ltd. 2024


[…] the previous blog we learnt how to make a connection between Business Central and Jet reports. Jet Reports are fast […]