How to Create Your First PowerApps Component Framework (PCF) Control Using VS Code
PCF (PowerApps Component Framework) is a special feature or custom element that can be added to Microsoft PowerApps. PowerApps is a platform for building custom business applications. Developers can build their own extra features/controls/elements using web technologies.
The PCF controls can be created using multiple languages i.e. TypeScript, React, Node.js, CSS and HTML.
To Initialization/Startup a custom PCF, we need to perform some setup,
If we are creating our first PCF, few elements need to be set up in our development environment by downloading the required libraries and components.
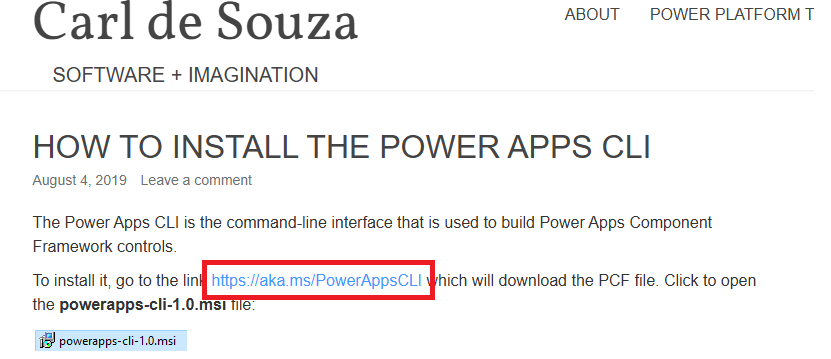
- Download PowerApps CLI
PowerApps CLI (Command-Line Interface) is a tool provided by Microsoft to help developers interact with the Power Platform, particularly for tasks related to PowerApps Component Framework (PCF) development and managing environments. It allows you to create, build, and deploy custom controls, manage solutions, and perform other operations directly from the command line.
(Link: https://carldesouza.com/how-to-install-the-power-apps-cli/)
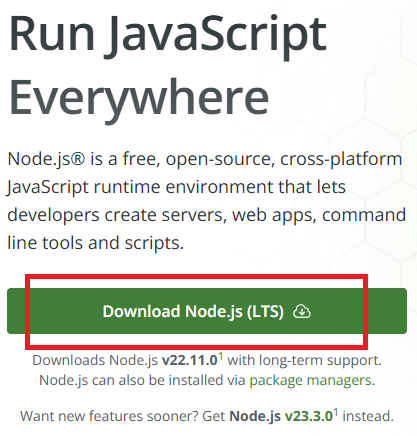
- Download Node JS CLI
Node.js CLI (Command-Line Interface) refers to interacting with Node.js, a JavaScript runtime built on Chrome’s V8 JavaScript engine. The CLI is used to execute Node.js applications, manage packages, and run scripts, making it an essential tool for developers working with Node.js.
(Link: https://nodejs.org/en)
After completing both setups, start creating the PCF structure in Visual Studio Code. To create the structure, follow the steps below.
Below are the steps to create a custom PCF, along with an example,
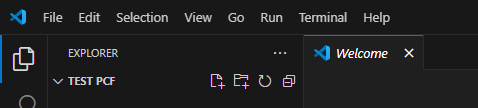
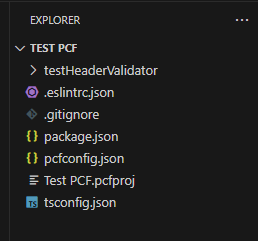
- Create a new folder in the C drive for your PCF.

- Open the same folder in Visual Studio Code.
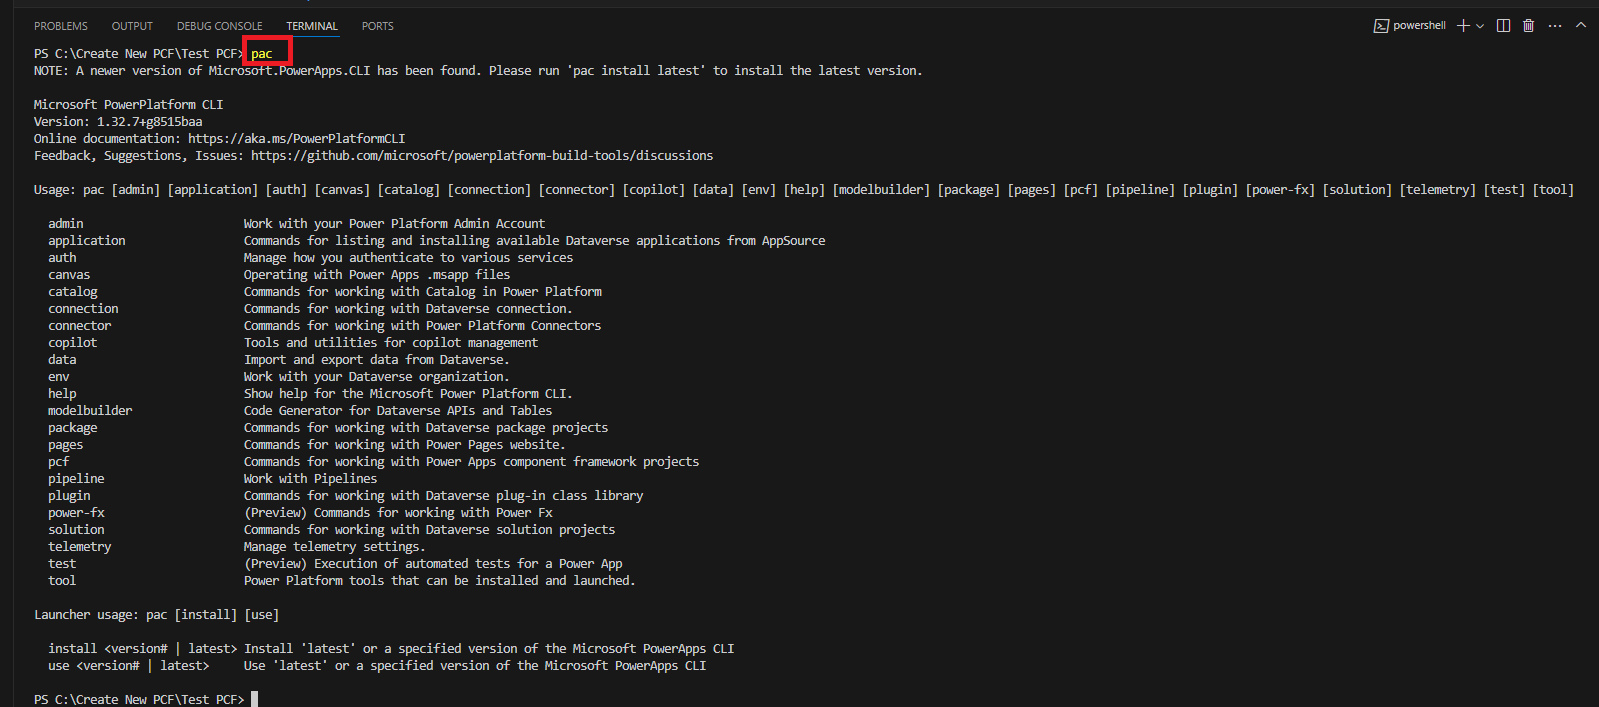
- Run the pac command to check if the packages are downloaded.
The pac command is part of the PowerApps CLI (Command-Line Interface), which is used for managing and developing solutions on the Microsoft Power Platform.
- Run the pac init command with the namespace and template fields.
- pac pcf init: Initializes a new PCF control project.
- –namespace titleHeader: Specifies the namespace for the control. In this case, the namespace is titleHeader, which is typically used to group related components.
- –name titleHeaderValidator: Specifies the name of the PCF control. Here, the control is named titleHeaderValidator.
- –template field: Indicates the template type for the control. The field template is used for creating controls that are intended to interact with a Dataverse field, such as a text input or other field type.
Command: pac pcf init –namespace titleHeader –name titleHeaderValidator –template field

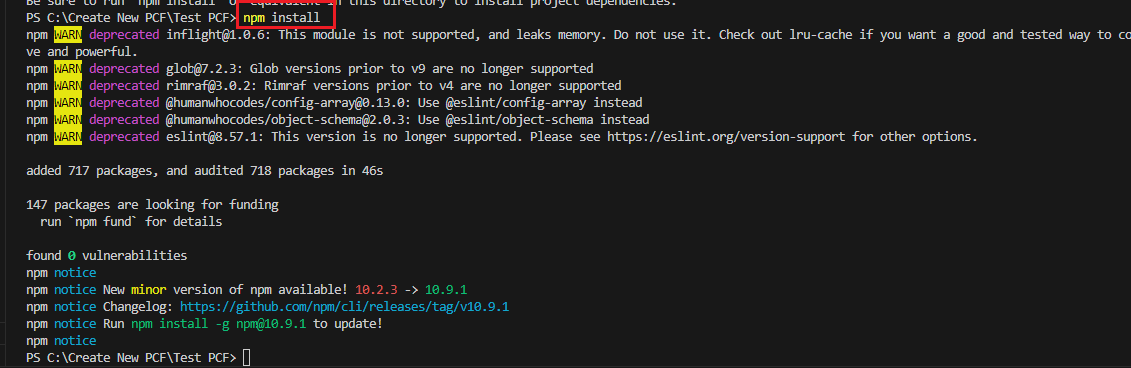
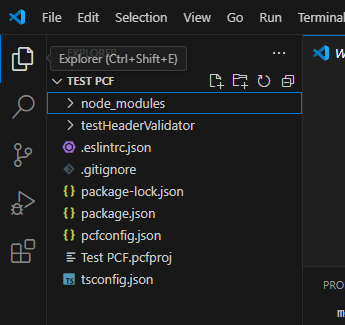
- Run the npm command to install and download the Node.js libraries for the custom PCF.
The command npm install is used to install dependencies for a Node.js project. When you run this command, npm (Node Package Manager) looks at the package.json file in your project directory and installs the libraries or packages listed as dependencies.
Command: npm install
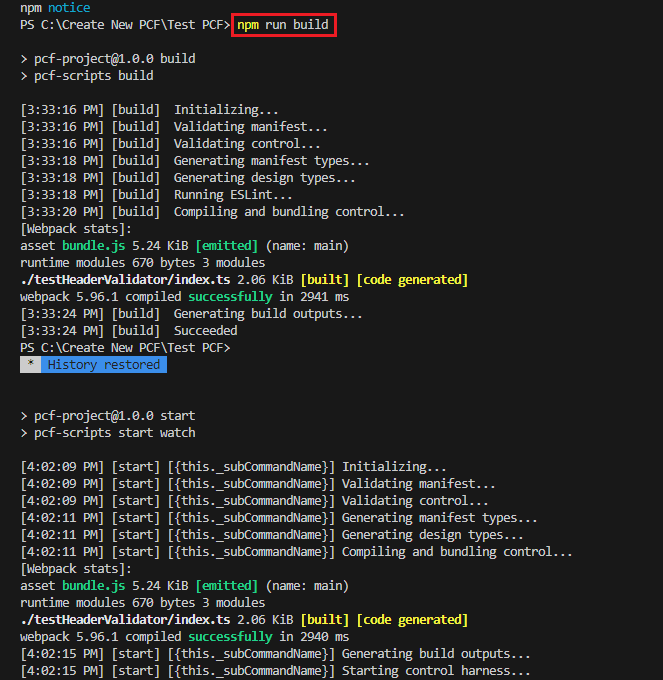
- To build and run the control, use the command npm run build.
Command: npm run build

- Run npm start watch to run scripts from package.
Command: npm start watch
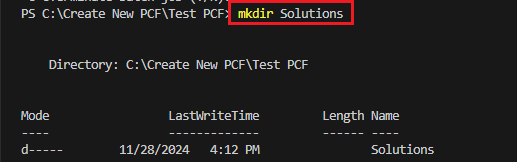
- Create a new folder inside the PCF folder where all the components are located.
- We are creating this folder to generate a .zip file for importing into the environment.
Commnad: mkdir Solutions
- We are creating this folder to generate a .zip file for importing into the environment.
- Goto Solutions using commnad
Commnad: cd Solutions

- Run the command to build the solution component with the publisher’s name and publisher prefix.
Command: pac solution init –publisher-name TestITSolutionsPvtLtd –publisher-prefix test

- Run the ‘Add Reference’ command to include external libraries (like .DLL files or NuGet packages) into your project.
- Path: Provide the correct command till your PCF name.
Command: pac solution add-reference –path “C:\Create New PCF\Test PCF”

- Path: Provide the correct command till your PCF name.
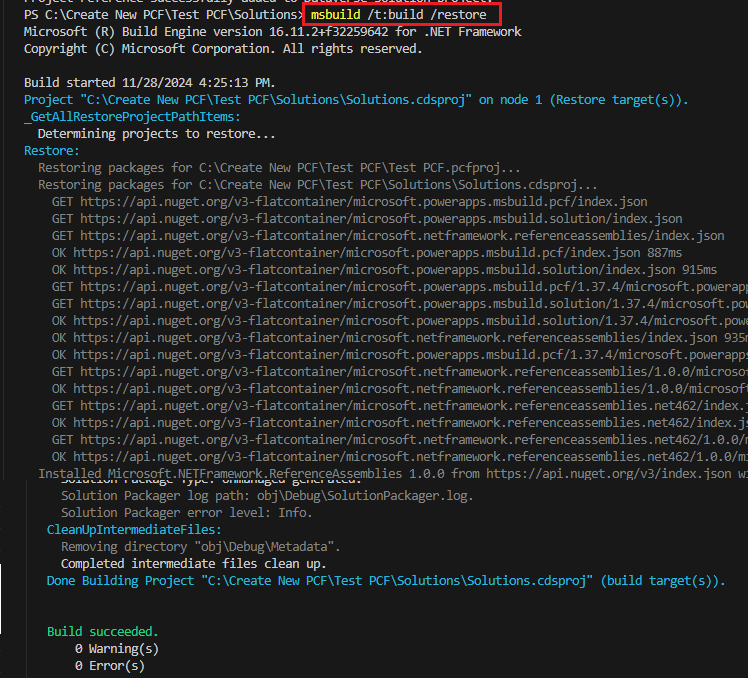
- Run msbuild /t:build /restore command is used to build a project while restoring any missing dependencies.
Command: msbuild /t:build /restore
Note: If you encounter an error while running the msbuild /t:build /restore command, you may need to set up the system environment variable and ensure that MSBuild is properly installed via Visual Studio. Follow these steps to set up the process:
Download MSBuild in Visual Studio:
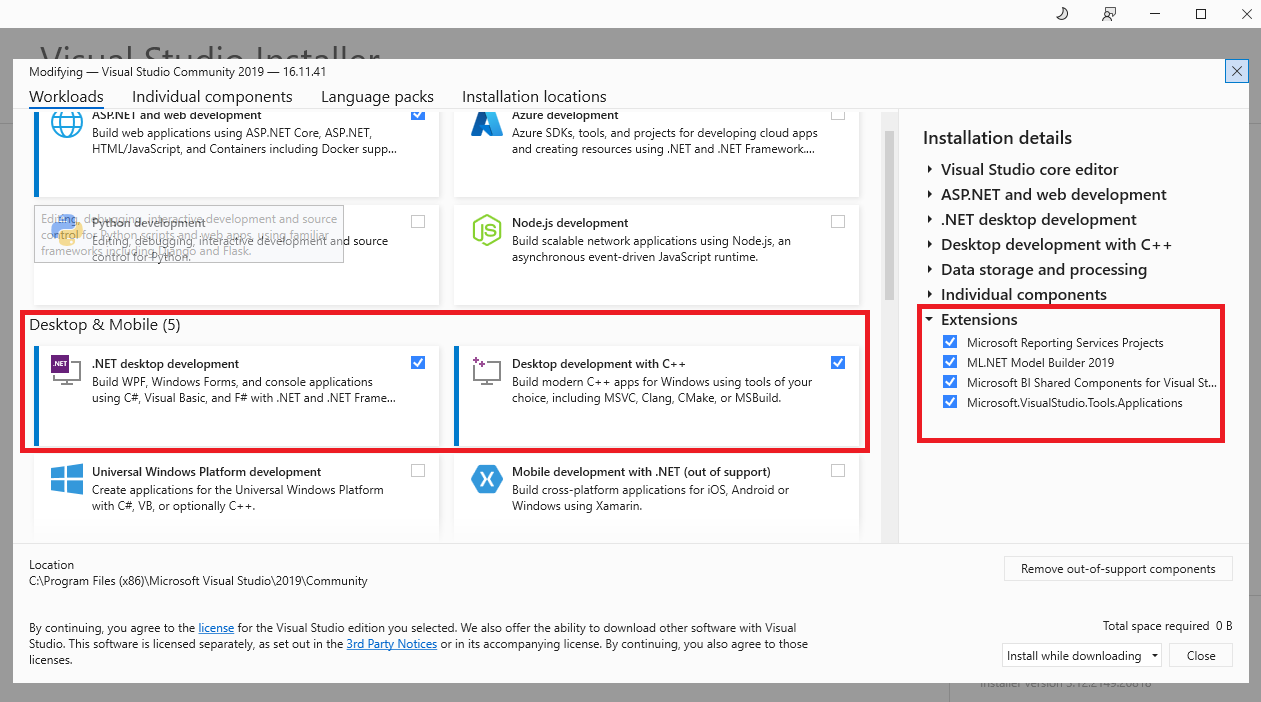
After installing MS Build, if you still face an error then try the links below.
Setup Environment Variable for MSBuild
- Link: How to resolve MSBuild is not recognized as internal or external command error in Visual Studio Code
Solve NPM Error: Unable to Resolve Dependency Tree
Conclusion:
By mastering these steps, you’ll gain the skills to create custom PCF controls that can be seamlessly integrated into PowerApps, offering enhanced functionality and Custom user experiences for your business solutions.