
Microsoft Dynamics 365 v9.0 was announced in July 2017. It is a major release, which has enhanced many existing features in CRM online and has also introduced new features.
The Xrm.Utility namespace, is one of the namespaces that has been enhanced with many new functions in Dynamics 365 version 9.0.
In this post, I will describe the lookupObjects function of the Xrm.Utility namespace.
Basically, the Xrm.Utility.lookupObjects function is used to open a lookup dialogue on the form, with the list of entities & views that you specify, when declaring the properties of lookupObjects.
Now, I will explain you how we can use the Xrm.Utility.lookupObjects function:-
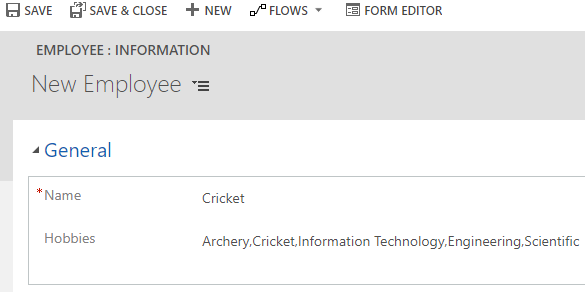
Here I have an entity named “Employee”, with the two fields “Name” (Type : Single Line of Text) & “Hobbies” (Type : Multiple Lines of Text). And, on the change of the “Name” field, I will open a lookup dialogue, from where the user will select one or more records. Then finally, the selected records will be populated in the “Hobbies” field on the form.
I have written below JavaScript code on, OnChange event of the “Name” field:-
// JavaScript source code
function setHobbies() {
    // Set properties of lookupObjects
    var lookupOptions = {
        defaultEntityType: "new_sports",
        defaultViewId: "{00000000-0000-0000-0000-000000000000}", // GUID of the View
        viewIds: ["{00000000-0000-0000-0000-000000000000}",
                        "{00000000-0000-0000-0000-000000000000}",
                        "{00000000-0000-0000-0000-000000000000}"], // GUID of the View
        entityTypes: ["new_sports", "new_technologies"],
        allowMultiSelect: true
    };

    Xrm.Utility.lookupObjects(lookupOptions)
        .then(function (result) {
            // On successfuly loading Lookup dialogue
            if (result == null || result.length == 0) {
                // If no record is selected
                Xrm.Page.getAttribute("new_hobbies").setValue("No records selected");
            } else {
                // If one or more record is selected, then, set those records as comma seperated value to the Hobbies field on the form.
                var hobbies = [];
                for (var i = 0; i < result.length; i++) {
                    hobbies.push(result[i].name)
                }
                Xrm.Page.getAttribute("new_hobbies").setValue(hobbies.toString());
            }
        })
        .fail(function (error) {
            // If Lookup dialogue is not loaded properly.
            Xrm.Page.getAttribute("new_hobbies").setValue("Error during opening lookup - " + error.toString());
        });
}
Now, let me explain the attributes of the lookupObjects, in the above specified JavaScript Code:-
1. ‘lookupOptions’ is an object that defines the options for opening the lookup dialogue.
2. Using ‘DefaultEntityType’, you can set the default selected entity in the lookup option.
3. ‘defaultViewId’ property will define the default view to use.
4. ‘viewIds’ is an array, where you can specify the views, that you want to show in the lookup.
5. ‘EntityTypes’ is an array, where you can specify the entities, that you want to show in the lookup.
6. ‘AllowMultiSelect’ property will define whether the user can select multiple records or not.
What the above JavaScript code will do is, just open a lookup control with the two entities “Sports” & “Technologies” and the specified views, on change of the “Name” field on Employee entity form, as shown in the below image:-
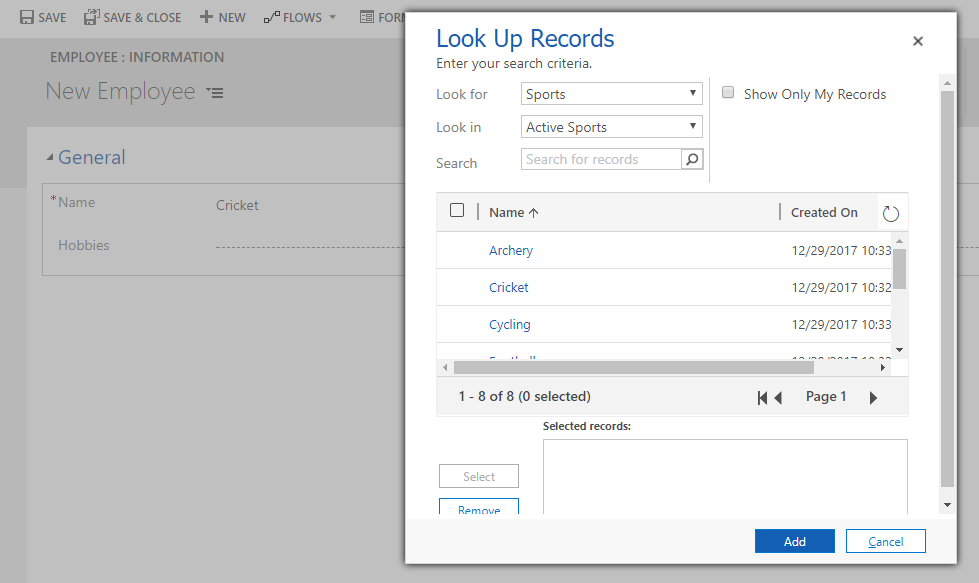
Here, in the above image you can see that, by default, the “Sports” entity is selected.
This is because, we have set the ‘defaultEntityType’ property of the lookupOptions object.
And the ‘defaultViewId’ property of the lookupOptions object have set “Active Sports”, as the default view.
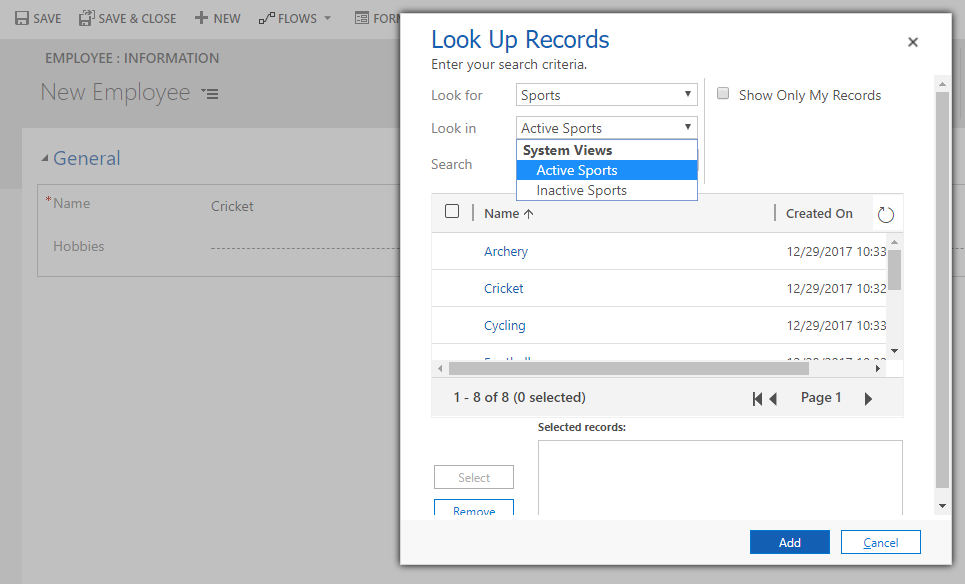
Also, in the below image, you can see that, there are only 2 views, which have been displayed for Sports entity. This is because, we have set the ‘viewIds’ property of the lookupOptions object, with only some views that is required. In this way, you can restrict the user from selecting the records from the other views of the selected entity.
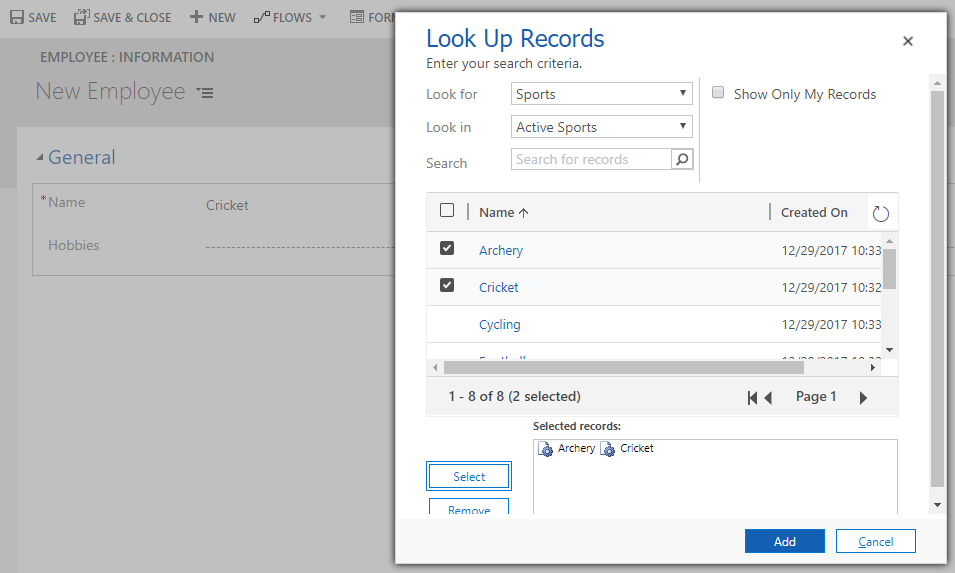
Now, you can select single or multiple records by selecting the check-box, beside the record, and then clicking on the Select Button.
You can also remove the selected records, by clicking on the record to be removed from the selection, and then clicking on the Remove Button.
Here, I have selected two records from the Sports Entity.
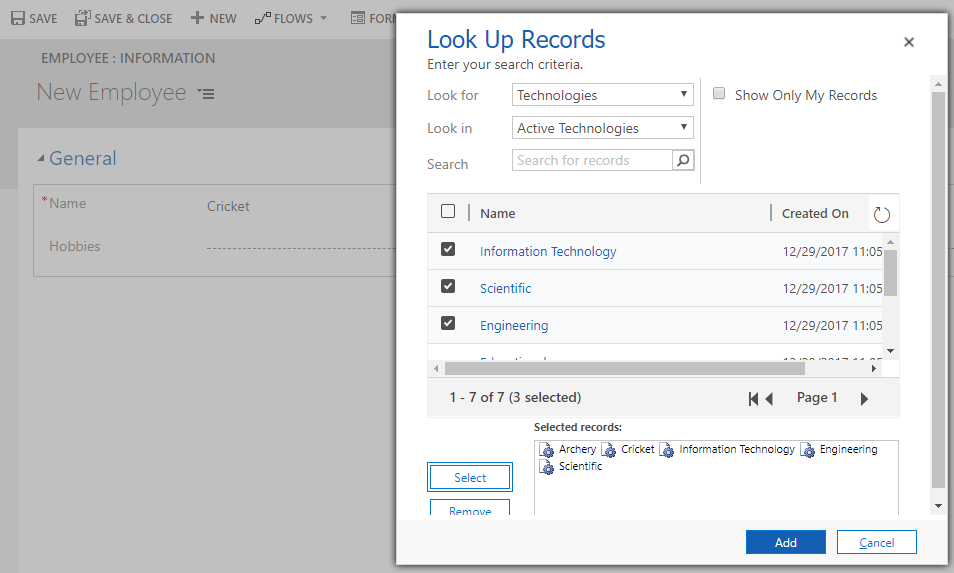
And, I have selected three records from the Technologies Entity.
After selecting all the required records, click on the Add Button. You will see that all the selected records are now displayed in the Hobbies field on the form:-
I Hope this helps you…
Happy CRMing!!
Insert data into Many-to-Many relationship in Dynamics CRM very easily & quickly, using the Drag and drop listbox.
http://www.inkeysolutions.com/what-we-do/dynamicscrmaddons/drag-and-drop-listbox
INKEY is your solution partner.
Our focus is to deliver you in-time intelligent innovative solutions ("key") for the problems in hand. Maintaining a quality standard right from the inception of a project is our top most priority.
Our team of talented professionals will execute your projects with dedication and excellence. We take ownership and accountability for the effort that goes into meeting our client’s needs.
Years of experience and proven success of delivering innovative custom solutions.


© All Rights Reserved. Inkey IT Solutions Pvt. Ltd. 2024


Leave a Reply